Tuesday, October 29, 2013

Halloween cards 2013

This blog has moved to a new & improved location!  Please visit this page at the new location by clicking here.


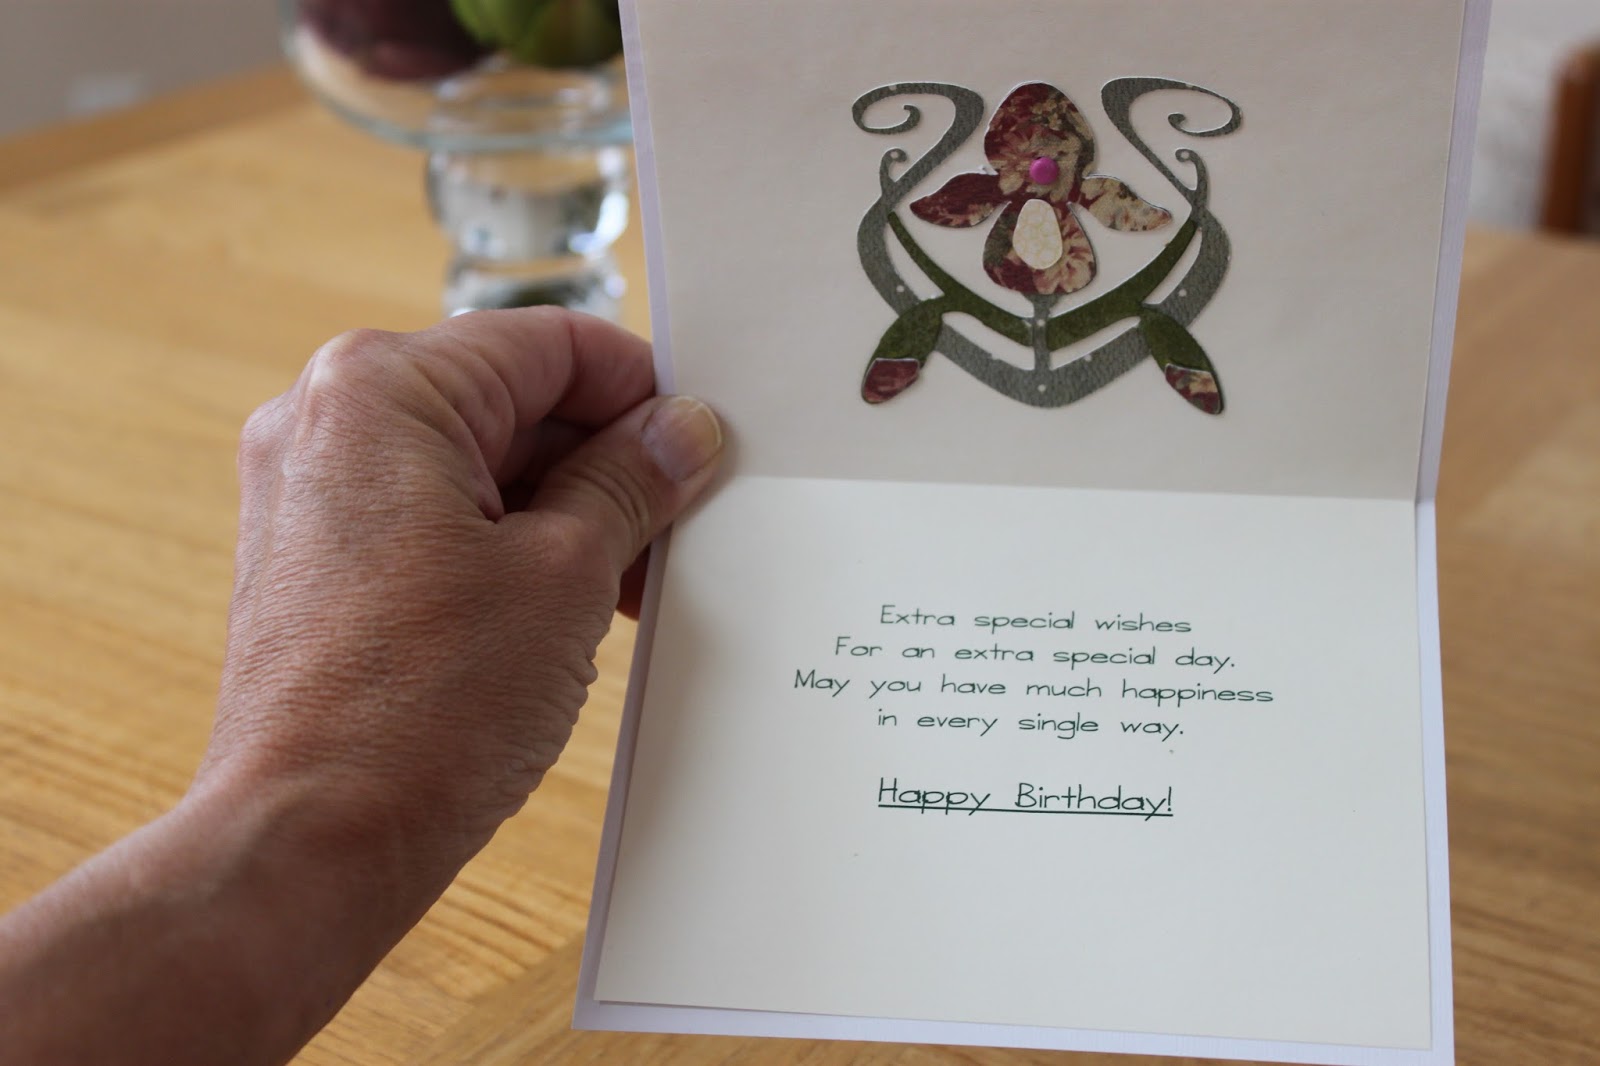
I made two of these.  One for one of my sisters & one for my sister-in-law.

The "outer" paper is from Spooksville by The Paper Studio.

The "inner" paper is digital - from Harvest Moon Halloween Mega Kit (Jessica Sprague).  But I "lightened" it by only printing it at 38%.  The bat on the inside is also from the Harvest Moon Halloween kit.  

The font is Dracula.

The ghost on the front is from Cricut's A Frightful Affair cartridge.  I cut it from white cardstock, sprayed it with Perfect Pearls & then drew in the eyes & mouth.  Spraying with Perfect Pearls caused the ghost to curl a bit, so  I took advantage of this & applied it with pop dots.  This not only gave dimension from the pop dots, but the curled ghost looked pretty neat, too!  Finished off with some washi tape & a small bow. 


Sunday, October 6, 2013

A few cards

This blog has moved to a new & improved location!  Please visit this page at the new location by clicking here.


Since I'm so behind on posting, I'm combining a few in this post.

First up is a birthday card for my niece.  I wanted something bright & cheerful.  Although cutting text for quarterfold cards (since they are so small) is usually a fruitless endeavor IMO, this phrase came out quite nice. The card paper is from DCWV (Diecuts With A View) Pockets Full of Posies pack.  The neon green is a leftover scrap.  The flower was cut with the Tim Holtz Sizzix die, Tattered Florals with an orange brad for the center.  The butterfly was a print & cut from Samantha Walker. 


This note card utilizes digital paper from Lettering Delights Muted Designs Paper Pack with another PNC butterfly from Samantha Walker.


A thank you card using digital papers (cherries & polka dots) & alphabet from Lettering Delights Bowl Full of Cherries.  The bottom of the front was cut with decorative edge scissors & then the pink striped strip that is exposed was a paper scrap.  The front was also embossed with Juli's Garden (Cuttlebug). 


Money/check envelopes

This blog has moved to a new & improved location!  Please visit this page at the new location by clicking here.


I wanted to discreetly give a check to a friend.  But I also wanted it to be pretty!  So I enclosed the check in this cute money envelope made with the Silhouette Cameo.  

The digital paper was from LetteringDelights Circle Paper Pack.  The flower was made using a cut from Silhouette Online store & the leaves were from the Cuttlebug Daisy quilling kit die cut.


Here's the Silhouette cut for the flower:


This is another money envelope I'd made to give a tip to the dog groomer.   The digital paper is from Etsy.  


Tuesday, September 24, 2013

Using Cricut mats in the Silhouette Cameo

This blog has moved to a new & improved location!  Please visit this page at the new location by clicking here.


Although I've had my Cameo for a year now & the Cricut a bit longer, I'm still on a learning curve & often unsure about blade settings & such.  One issue I've had with the Cameo is that I've now ruined at least three new or nearly new mats because the Cameo cut right through them.  I've tried to continue to use them.  But often, when the mat is being rolled back & forth while cutting, the edges where the mat is cut through will cause the Cameo to jam or stick & you've now ruined the cut you're now making.  So in my experience, once a mat has been cut through, it's no longer useful.

The last time this happened, I got fed up (BRAND NEW MAT!) & Googled about using the thicker, Cricut mats in a Silhouette.  Sure enough, people are doing this.  It appears the Silhouette mats have a thinner top "margin".  So some people cut down their Cricut mats used in a Cameo.  So far, I've been able to get along by moving the paper up a bit.  In the photo below, when using the Cameo, I align the paper where the pink arrow is pointing instead of where the blue arrow is pointing.  Since this area is not sticky, you might have to use tape to tape the top edge down or you could treat it with some Zip two way glue, so that it is sticky.  (I guess that's why some people find it easier to just trim the top/bottom margins!)  To clarify, if you trim, do not trim the sides.  Only the top/bottom.

Additionally, Cricut mats are generally about half the price of the Silhouette mats!  

Say YAY!


Friday, September 20, 2013

Birthday card & matching tea bag!

This blog has moved to a new & improved location!  Please visit this page at the new location by clicking here.


I've a sister who is not particularly fond of pinks & purples.  So I selected a blueish/green digital print for the card & matching tea bag cover.  I added some washi tape that I'd bought at Walgreens on a whim - I just wanted to buy some & didn't find one I particularly liked, but I liked this the best of the bunch.  It matched beautifully!  Next came some pale yellow cuts from one of the new Anna Griffin Cuttlebug dies.  As you may imagine, her dies are very intricate & a bit of a pain, in my opinion.  It took quite a while to get the cut removed from the die & all the bits out.  When I got done, the middle row was rather boogered up.  So I decided to cut them apart & use the four good parts.  (I adhered the fourth one on top of the middle one with a pop dot to give it some dimension.)  I found some gems in my stash that again...matched beautifully!  This card was shaping up to be one of my favorites!  I then did a sentiment in Silhouette Studio Designer Edition, inked the edge with Tim Holtz antique linen & topped it off by spraying with some Perfect Pearls.  Although I'm sending it to my sister, I'm not happy with the way the sentiment came out.  So I'm going to make this card again & use a different way of adding the sentiment because I think this card has the potential to be a really beautiful card!

For the matching tea bag cover, I started with a tea bag graphic from the "Love You A Latte" collection at LetteringDelights.com.  I massaged it in Silhouette Studio Designer Edition by adding cut lines, replacing the graphic with the digital paper I used in the card & added a sentiment.  Even though it's kind of corny, I liked the sentiment of "For A Tea-rrific sister" & enclosed a bag of Ambiance Orange Jasmine green tea.

 The final step was making an envelope wrap for the address & return address.  When I first saw these, I thought they were weird.  But after I made my first one & put it on the envelope, it looked so nice that I was immediately sold on the idea.  I see a lot of envelope wrappers in my future!  I will post more information on them in a day or two, when I have more time.

I'm really loving the Simply Gorgeous font...most of the time.  The capital T looks a lot like a G.  So the sentiment on the front looks a lot like "Happy Birthday Go My Sister".  I guess it could be something worse! But as much as I love this font, I think I'm going to have to refrain from using it when I need a capital T.

  • digital paper - from the Daisies Paper pack at JessicaSprague.com
  • tea bag modified from a graphic in the "Love You A Latte" collection at LetteringDelights.com
  • Anna Griffin Cuttlebug die - Flower Layer
  • Scotch brand washi tape - Cracked 
  • font - Simply Gorgeous 
  • Xyron - used to adhere the three flowers on the front.  As intricate as this design is, I don't know how you'd adhere them any other way!


Friday, August 30, 2013

Birthday card for my niece

This blog has moved to a new & improved location!  Please visit this page at the new location by clicking here.


This is from last year & from the Cricut Art Nouveau cartridge.  I just love that cart!  Both the sentiment on the front & the image on the inside top are from it.  I cut a label for underneath the front sentiment & distressed the edges with the Zutter Distrezz-It-All & then inked the edges. 

The paper is from Mirabelle by The Paper Studio.  I love that paper pack, too.  Such nice papers with fall colors. 


Wednesday, August 28, 2013

Retirement card with attached CD

This blog has moved to a new & improved location!  Please visit this page at the new location by clicking here.


A friend of ours retired last year.  I compiled a CD of retirement songs & made a card that was attached to the box by using the Zutter Bind-It-All.  I pretty much finished this five minutes before walking out the door to the retirement party, so this is the only photo I got of it.  I need to make another one for someone else, so  will try to get more photos of that one before giving it to the recipient.


BTW, the songs on the CD were:


  1. King of the Road - Roger Miller
  2. Good Times - Chic
  3. Na Na Hey Hey Kiss Him Goodby - Steam
  4. It's Five O'Clock Somewhere - Alan Jackson/Jimmy Buffett
  5. The Best is Yet To Come - Frank Sinatra
  6. Sixteen Tons - Tennessee Ernie Ford
  7. I'm Free - Rolling Stones
  8. Old Days - Chicago
  9. Blue Skies - Eva Cassidy
  10. Five O'Clock World - The Vogues
  11. Workin' For A Livin' - Huey Lewis & The News

Tissue box covers & rolled/quilled flowers!

This blog has moved to a new & improved location!  Please visit this page at the new location by clicking here.


I like these as small gifts.  Something you can give someone & they won't feel obligated to give something in return.  Plus, it's something if they don't like, they can always re-gift it.

This is the most recent one.  The flower on the front is the first rolled/quilled flower, I've done.  They look a bit complicated.  But they really are very easy to make & look lovely!


Here's a close up of it & the cut, from SilhouetteOnline.  The leaves were cut with the Cuttlebug Daisy Quilling Kit. 


Here are some others:


Tuesday, August 27, 2013

Hostess gift boxes for flameless candles

This blog has moved to a new & improved location!  Please visit this page at the new location by clicking here.


Last holiday season, my hostess gift of choice was a flameless candle bought in three packs from QVC.  But since they came in a three pack, I needed a box for each one.  So...I made them on my Silhouette Cameo.


This one was gifted right before Thanksgiving, so I wanted a fall theme but not really Thanksgiving, yet.


This one was for a Thanksgiving evening get together.  I wanted a fall theme but this one also bordered upon Christmas.  The butterfly is a Spellbinders die from the Wonderful Wings set, which is one of my favorites.


This one was for a Christmas party so all out, full Monty Christmas theme.


Another Christmas themed one:


I made a poinsettia for the top of the two Christmas themed boxes.  I cut the three layers, assembled them largest on the bottom & the smaller ones on top & secured with a brad.

The cut for the box was from SilhouetteOnline.  This is the bottom of the box.  I also cut a square from a cereal or cracker box that was the size of the bottom of the assembled box.  I used some of the scraps to cover it, then put it in the bottom to give the box more strength.  Since the lids are not tight fitting, I always secured them to the bottom of the box by tying with a ribbon.  This prevents someone from picking it up by the sides & the lid sliding off & letting the bottom of the box (and the candle!) fall.


This is the top of the box:


These are the cuts for the poinsettia:


Monday, August 26, 2013

Going Away Card using Cricut & Cameo cuts

This blog has moved to a new & improved location!  Please visit this page at the new location by clicking here.


This was a going away card for a gal who worked with my husband for many years.  

Her name is cut with the Cricut Lyrical Letters cartridge. The butterfly was cut on the Silhouette Cameo, using a cut from SilhouetteOnline.

The cattails on the inside were cut on the Cricut using the Art Nouveau cartridge. 

The font is JasmineUPC.

To create the scalloped edge on the front, I used the scalloped die from Spellbinders E8-007 Edgeabilites Classic Edges set.


Piano birthday card - Cricut Quarternote cartridge!

This blog has moved to a new & improved location!  Please visit this page at the new location by clicking here.


I made this a few months ago for a good friend who has a grand piano in her home.  The sentiment was printed on my computer printer.  The piano, keyboard & notes are Cricut cuts & I used black sparkle paper.


Momism book

This blog has moved to a new & improved location!  Please visit this page at the new location by clicking here.


I compiled this booklet last year. After my mother passed away, I had this insatiable need to make something physical that would either remind people of her or would acquaint people with her.  For several months, I fought with this need, since I really didn't know what I wanted to make or how to make it.  I just knew I needed to make something.  I bought all the right tools but nothing really came to fruition, until I made this booklet.  This was very cathartic for me & I still make them to give to people.  

Since I it was a booklet with photographs, I wanted to find photo paper that was printable on both sides.  I'd never heard of such a thing, but thanks to Google, I realized what I needed was "brochure" paper.  

The pages were assembled in Microsoft Publisher 2010.

I also found the Zutter Dreamkutz very helpful for this project.  It's a pretty limited tool.  But when you want to cut a lot of paper that is 12 inches or less in half, this tool is very helpful because it's faster than using a traditional guillotine paper cutter.

Finally, to bind the booklets, I used the Zutter Bind-It-All.